
# Administrators
# Getting Started
When you signup with AuctionIT, you will be provided with a web address to get to your organization’s AuctionIT. Included in that will be our training database pre-populated with the same training data that is used in our training documentation and videos.
Your system will also be setup with an auction coordinator login to begin work in AuctionIT. Additional users will need to be setup by your Auction Coordinator.
# Screens
# Events
The Events screens are accessed from the drop down menu Manage->Events. When you select the menu option, you will see a list of all the auctions that your organization has hosted along with the Training Auction that we provide. This screen will allow you to edit, add or delete events based on your level of security and the status of the event.
# Create an event
There are 2 ways to create a new event, in the upper right corner of the Events screen is a button for New Event. The other way to create an event is to Copy an existing event. Copying an event will allow you to carry-forward the information from that event into the new event.
If you clicked on the New Event button you will be taken to the entry page for a new event. Here you will enter all the required information in each of the data entry boxes. See the Training Video Pages if you need more information on how to create a New Event.
# View an event
To view an event, you just need dto click on the name of the event. Ths will open up the Event's information page. Here you will see everything that was entered when the Event was created, including the current status.
WARNING
Please note that this page is for viewing the event only and if you need to make any changes you will need to go into the Event's Edit page.
# Donations
The screens for adding, editing and deleting donations are accessed from the menu Auction Setup->Donations. When you select the option you will see a screen with the list of
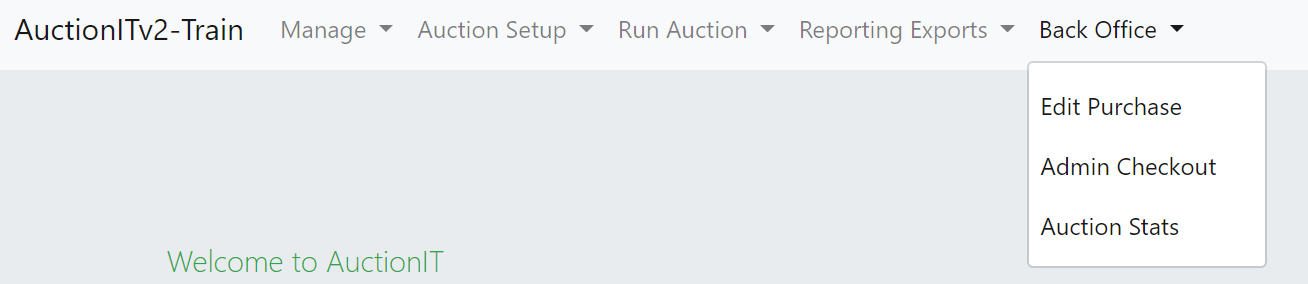
# Administrator Checkout
The menu Back Office, Admin Checkout gives you access to the Checkout screen with the extra ability to change amounts if an amount has been entered incorrectly.
 To checkout a Bidder, you can enter their bidder number in the box in the upper right and click Bidder Lookup. If you have a scanner, you can also scan the QR code on the bidder card to lookup the bidder. Once the bidder has been found you will see a screen like the one below.
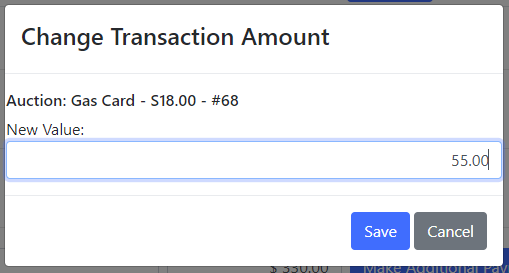
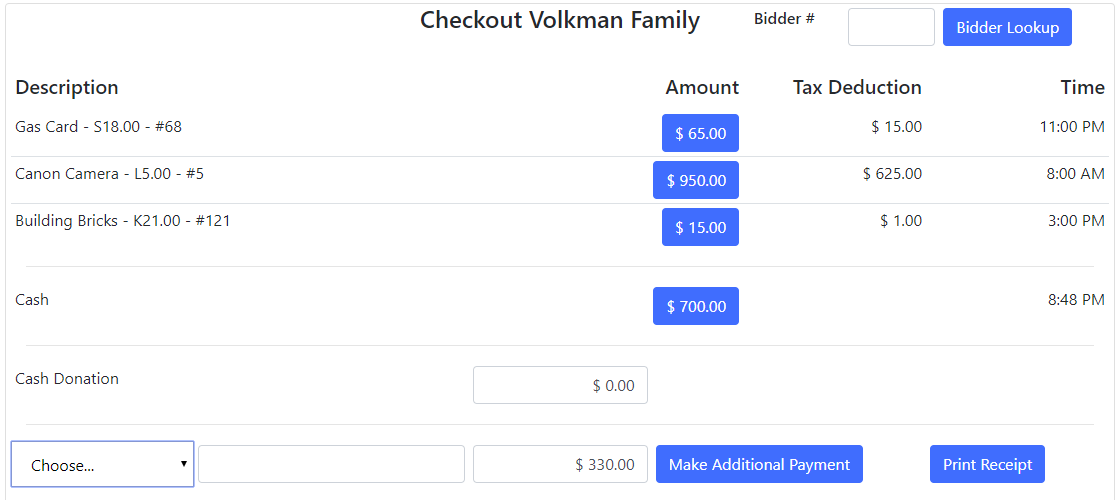 The layout and functionality of the screen is the same as the Checkout screen described in the Auction Cashier document except for the amount buttons. With these buttons you can change the amount of a purchase or a payment. When you click on the incorrect amount, you get a Change Transaction Amount window. You can enter the corrected value and click Save. The amount will be saved, and the checkout screen refreshed with a new balance.
# Donation Edit
The menu Back Office, Edit Purchase gives you access to a screen where you can edit donations. This screen has many functions with limited edit checking which is why it is only provided to administrators. From this screen you can
• Move an item to a different line and/or position in a line
• Change the status of the donation
• Change the sale price
• Divide the purchase between multiple buyers.
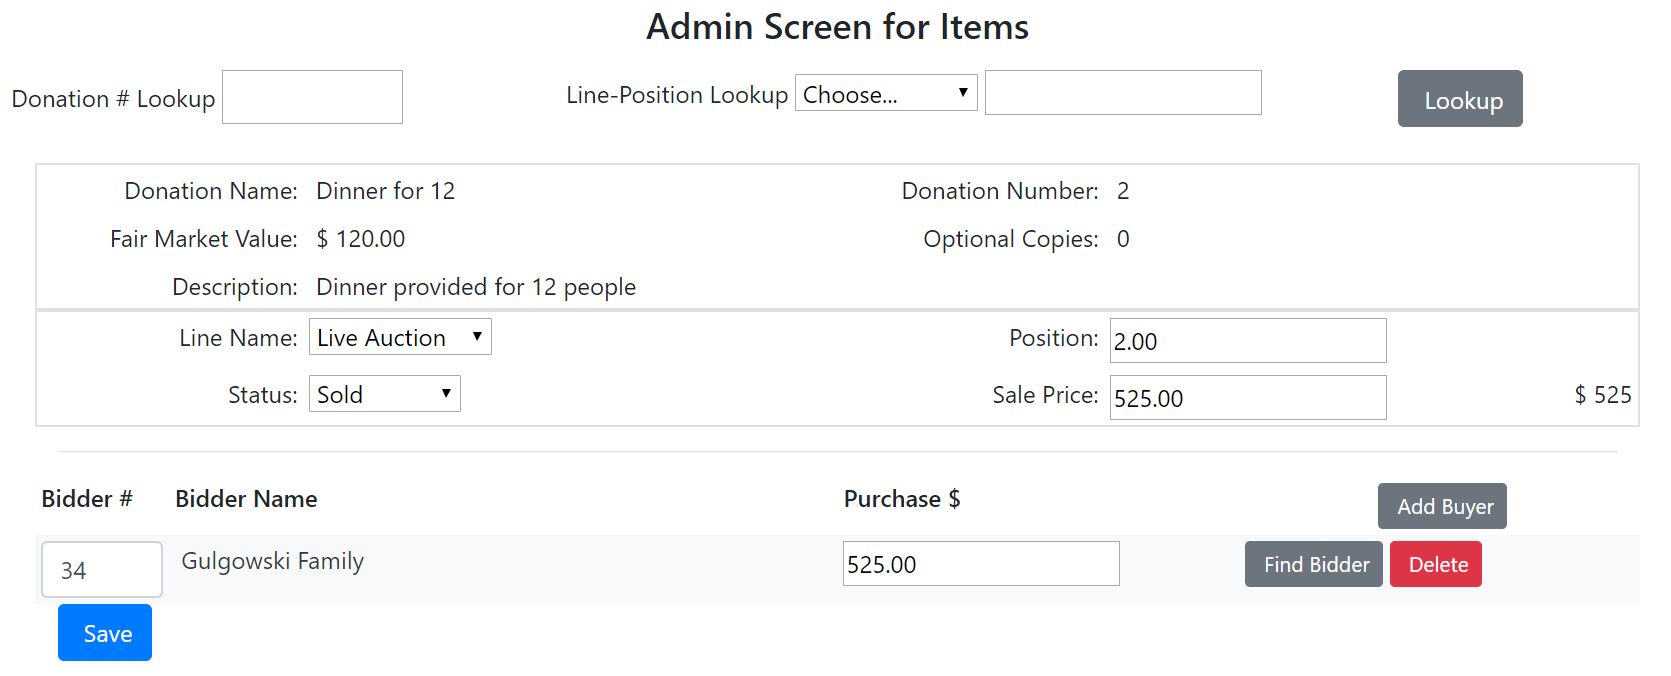 The screen has 4 sections.
- Item Lookup – You can lookup donations by either the donation number or the line and position.
- Item information – This is to make sure you found the correct item. This data cannot be changed here because it can be changed from the Donations screen.
- Item results – Here is where you can change the line, position, status or sale price. Either choose the new value from the list box or enter it in the field. Clicking save will change the data.
- Buyer(s) – Here is where you can change the bidder number if the clerk entered the wrong bidder number. This is also where you can split a purchase.
Splitting a purchase
To split a purchase, click on the Add Buyer button. When you do that another buyer record will appear. The new bidder number is entered, then you click on the Find Bidder button. Enter the amount of the purchase that this bidder wants to pay for. You can add as many buyers as want to split a purchase.
 Notice that the total of the amounts by all the buyers is calculated to the right of the Sale Price. The save cannot be done until the amounts match.
# Scenarios
# Creating a new worker login
Generally, there are 2 different approaches you can take to worker logins for running AuctionIT.
- Have worker logins specific to each individual who will work at the auction.
- Have generic logins for specific jobs that are done at the auction.
You can use either approach or a mix of the 2. For example, you may want to track exactly who performed Checkout on each Supporter. In this case, you would want assigned worker logins. However, you may also be running a Vending stand selling $1 ice cream cones. You may not be concerned who did each transaction or may not know who will be running the Vending stand. In this case, you would want to assign generic worker logins. In either case, the process is the same.
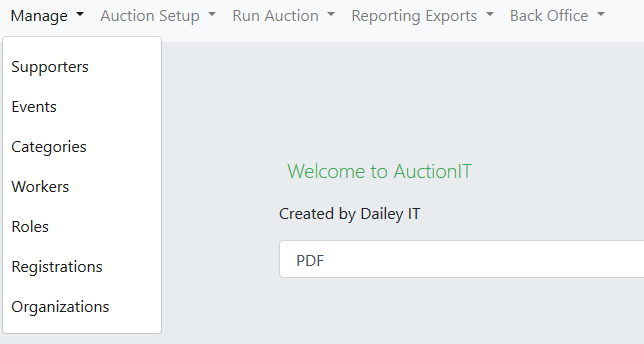
Choose the menu Manage->Workers as shown below
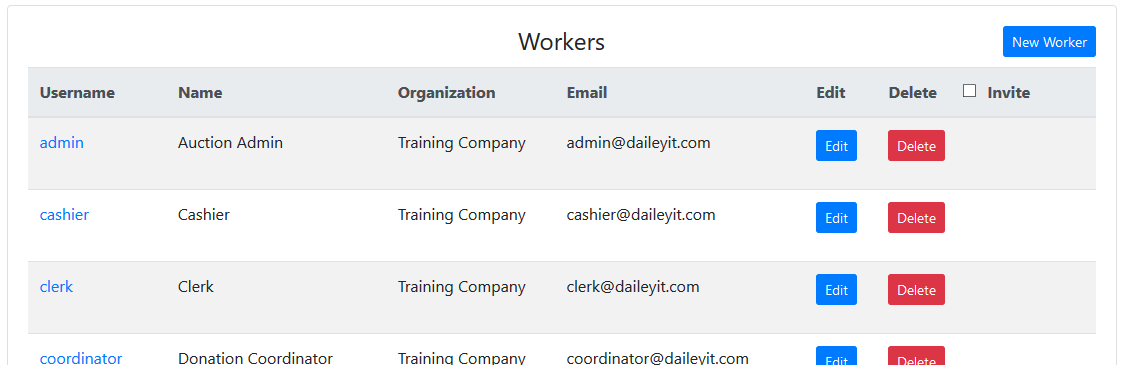
This will open the list of Workers.
From there choose the New Worker button in the upper right.
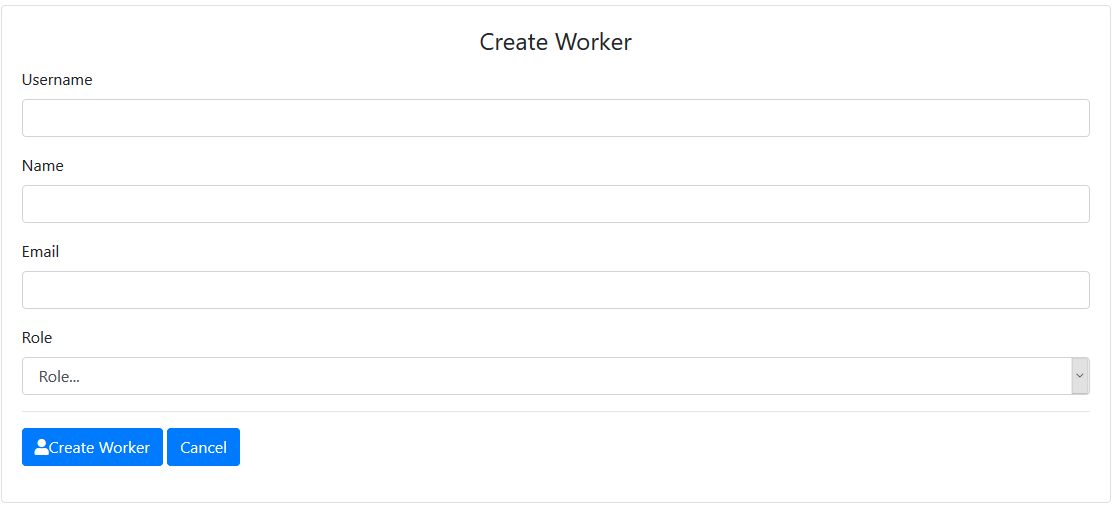
Complete this screen and press Create Worker. Once the new worked is created you will return to the list of Workers. Find the newly created work, select the check box at the far right side of the line and press the SendInvites button to send an invite to the new worker.

# Creating a new auction
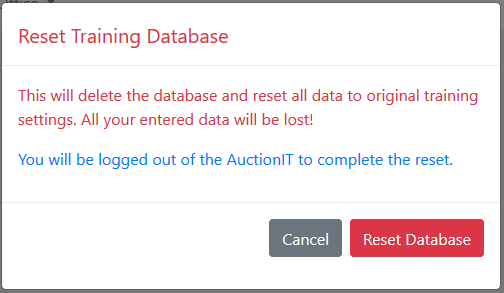
# Resetting your training database to the original state
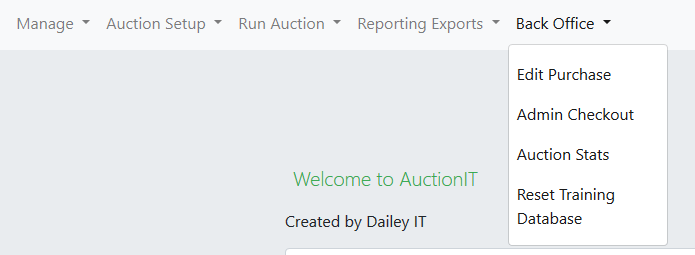
For your training database, you can reset the database to the original data as an administrator. To do this choose the menu Back Office->Reset Training Database as shown below
 This will open the dialog shown below. If you choose the Reset Database button, you will be logged out of the database and all the data will be reset to the initial training data provided to you by AuctionIT.
# Assigning donations to lines without positioning
If your auction has multiple lines, you may want to determine which line you want the donation in before you are ready to order the donations for sale. In this case, there is a screen under the menu item Auction Setup->Donation Assignment. This screen allows you to pick an item either by scanning the bar code from the Donation Tag or entering the donation number. The